Learn to make puff pastry from scratch in a Jacican puff pastry cooking class.
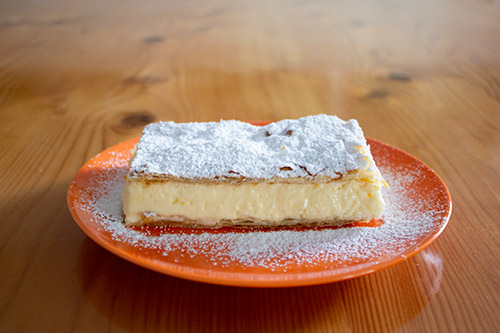
Prepare for an exciting and engaging hands-on experience at all Jacican cooking classes, including our puff pastry cooking class, where you'll be actively involved in every step of the process.
At Jacican, you have the exclusive opportunity to learn the art of making puff pastry from scratch from me, Jaci Hicken, a chef who has been perfecting this skill since childhood.
As a kid, I taught myself how to make puff pastry by following the Women's Weekly cookbook recipe resting the pastry for 20 minutes between rolling and folding.
I would then make a custard tart with the finished puff pastry to share with my family.
As a chef with a few years of baking under my apron, I now know that making puff pastry by hand can take days, with all the pastries resting, rolling and folding.
It is ideal to rest your puff pastry overnight between turns to create hundreds of thin layers of flaky pastry.
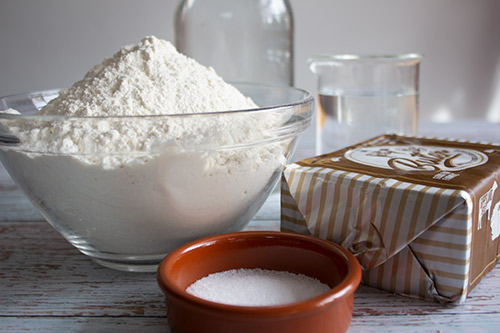
Through the magic of a four-hour puff pastry cooking class, you will make puff pastry, working through all the steps, including making the détrempe, rolling and folding to laminate your pastry.
The puff pastry you make in a Jacican puff pastry cooking class is not just for show.
It will be baked into delicious treats like vanilla slices, custard tarts, and vol-u-vents, which you can take home and enjoy.
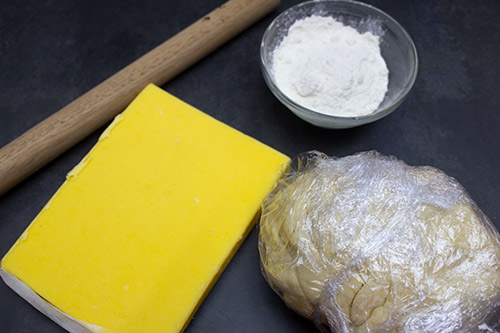
In many of my cooking classes, ‘the one I prepared earlier’ sometimes pops out of the fridge so you can fast-forward through some steps.
This may happen with puff pastry and other classes at Jacican, including my preserving classes.
Upcoming Jacican pastry cooking classes are on the following dates:
Don't worry if the scheduled classes don't fit your calendar.
All Jacican cooking classes can be arranged as private sessions for groups of four or more people on a day and time that suits you best.
For a complete list of cooking classes, including dates for Walk Amongst the Weeds five-course lunches, go to Jacican cooking classes.
I look forward to cooking with you!

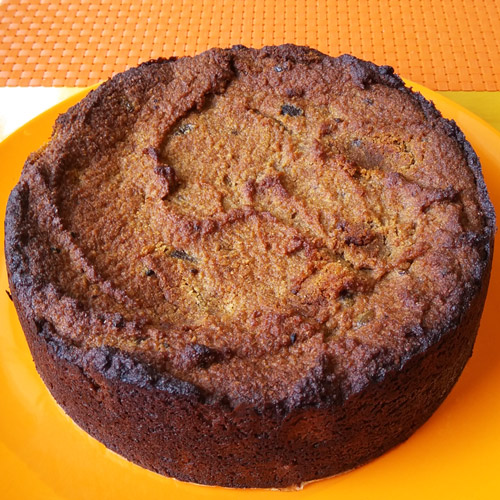
Always after different things to grow in the garden, a couple of years ago, Leonie from Brushtail Foods gave me a couple of yacon rhizomes.
A tuber root vegetable that tastes like an apple crossed with a water chestnut crossed with a potato. You can bake, roast, stir fry and bake into a cake.
What’s a Yacon?
Like all good bloggers, I went to the source of all correct information – Wikipedia and asked. A species of perennial daisy, related to sunflowers and hence Jerusalem artichokes.
They contain an indigestible polysaccharide (geez, that’s a big word) made of fructose.
This makes the tuber sweet tasting but allows the vegetable to pass through a human unmetabolized, with a very low-calorie intake. That’s enough scientific talk.
Let’s make a cake …
Let’s make a processed sugar-free, gluten-free, dairy-free, basically vegan cake
I promise it will taste great
Yacon and Date Cake
Ingredients
200 grams Dates
300 grams Yacon
200 grams Vegan Spread - I use Nutlex
50 grams of olive oil
300 grams of almond meal
1 teaspoon gluten-free baking powder
1 teaspoon cinnamon powder
1 pinch of salt
Method
1. Preheat the oven to 180C. Line and grease a 23-cm cake tin.
2. Place dates in heat resistant bowl and cover with boiling water. Allow to stand for 10 minutes, then drain off the water.
3. Place the dates, yacon, vegan spread, and olive oil in the bowl of the food processor. Puree until smooth. Add the almond meal, baking powder, cinnamon and a pinch of salt. Pulse to combine.
4. Pour into your prepared 23 cm cake tin. Bake for 25 minutes or until cooked through.
Enjoy!!

PS: If you ask, Walk Amongst the Weeds can be a private vegan meal, where I make this cake as one of five plant only based courses.
PSS: If you want your yacon to plant, I have rhizomes to plant as I dig up and use the tubers. Drop by sometime during opening hours, and I will have a piece ready for you.
The life that we all find ourselves in and keeps dragging on has taught me to be grateful for what I have.
And it turns out I have a cupboard (or maybe cupboards, fridges and a storeroom) full of food.
Nearly everything kitchen staple you can think of, along with ones you may not except.
It’s time for me to use up what I have on hand, cook with what’s in the cupboard and limit my trips to the supermarket.
If I look, I can find things like mini marshmallows, prawn paste, six different types of beans and a few boxes of gluten-free cornflakes.
For the first recipe of using up what I have on hand, I’m making a pumpkin pie, but I’m using up the gluten-free cornflakes and making a GF pie crust before I do that.
Gluten-Free cornflake pie crust.
This recipe makes 2 * 23cm pie shells.
Ingredients
1 * 450gram box of Gluten-free cornflakes
120 grams butter
2 tablespoons of honey
75 grams of sugar*
1 teaspoon of xanthan gum
Method
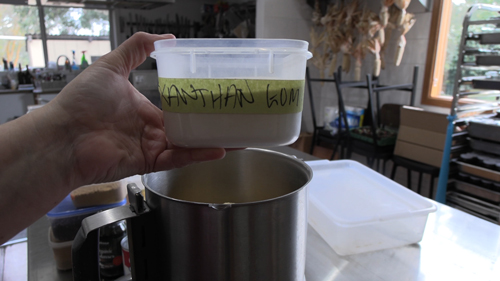
In the food processor, pulverise the GF cornflakes until they are a fine crumb. Pulse in 1 teaspoon of Xanthan gum. 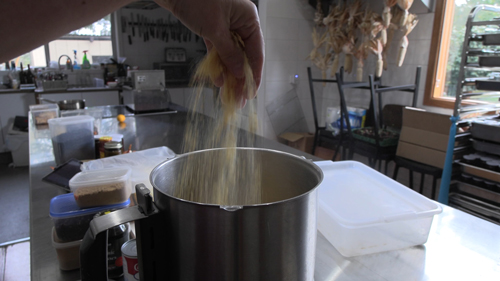
Heat the butter, honey and sugar in a saucepan until the sugar has dissolved and the mixture is bubbling. 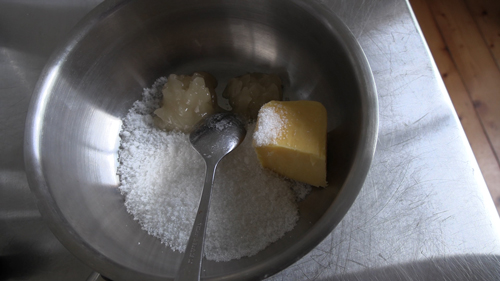
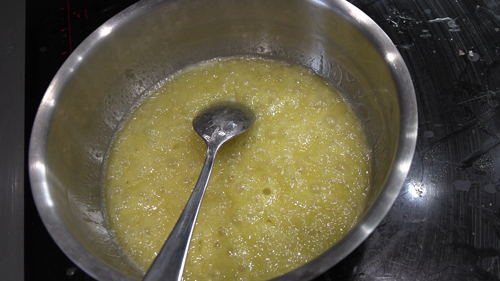
Place the pulverised cornflakes in a heat-proof bowl. Stir in the butter, honey sugar mixture. 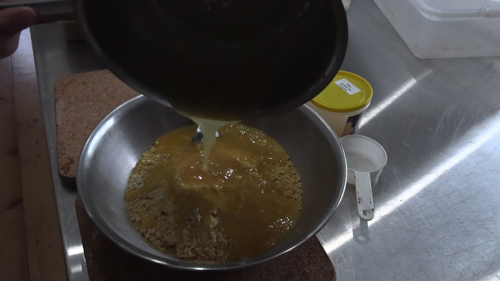
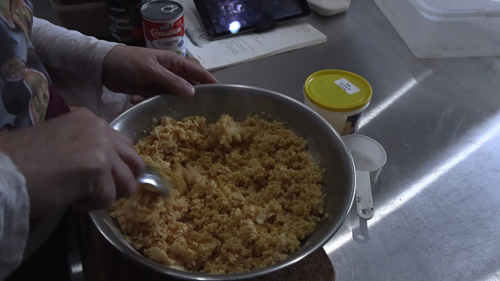
Line your pie shell.
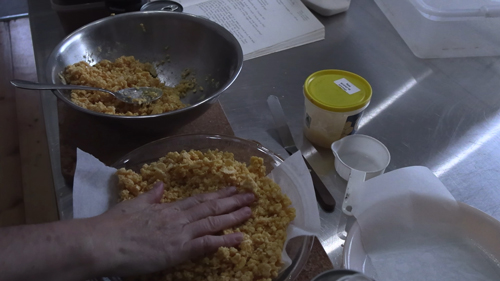
This mixture will be a little crumbly, but it will hold together fantastically when you add the filling and bake!
See you in the kitchen!

* Note: in the spirit of using up what I have in the cupboard, the sugar in this recipe was from the storage of my handmade lollies.

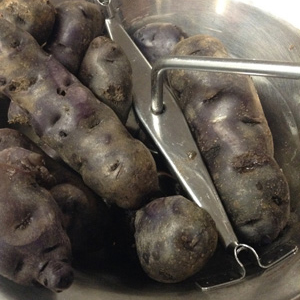
I’ve just dug kilos and kilos of purple potatoes out of the kitchen garden.
Now I have to cook them in as many ways as I can think of.
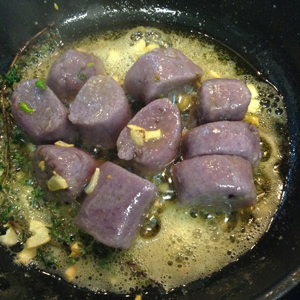
I’m going to start with gnocchi, purple potato gnocchi, that is.
Gnocchi is easier than you think to make.
Best of all, it can be made ahead of when you would like to eat it.
I like to eat my gnocchi triple cooked – blanched in boiling water to cook through, pan-fried in butter, then finished off under the grill.
Ingredients
1-kilogram purple gem potatoes - cleaned
1 egg
250 grams plain flour
1 pinch of salt
Method
1. Place potatoes in a saucepan of cold water. Bring to the boil, then simmer until cooked.
2. Strain the potatoes. You could peel when still hot but move straight onto step 3.
3. Place the potatoes in a mouli and process the potatoes straight onto the bench into a mound. You may need to do this in steps, as the weight of one kilo of cooked potatoes may be too heavy to hold.
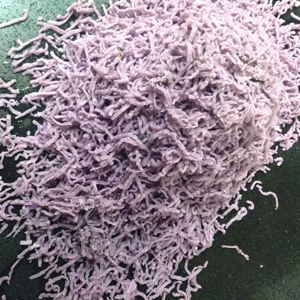
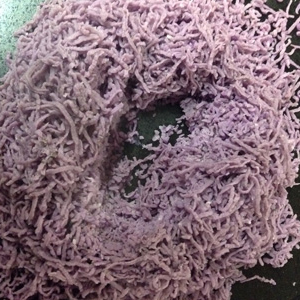
4. Make a well in the centre of your mound and shift over the flour. Add the egg and a pinch of salt to taste.
5. Using your hands, gently bring the dough together until just combined and the dough is slightly springy. Divide the dough into 4.
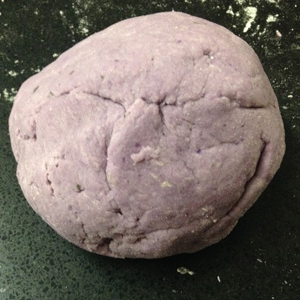

6. Roll each piece of dough into a long cigar shape. Cut into 3 cm lengths, using a pastry scraper or knife. Roll each piece on a gnocchi pad or press with a fork to create sauce groves in your gnocchi.
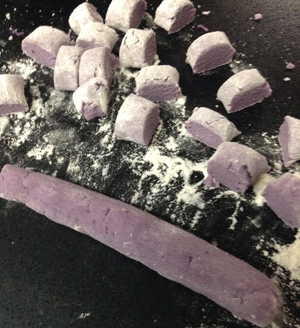
7. Line an oven tray with a clean tea towel. Put this aside until you cook your gnocchi.
8. Bring a large pot of salted boiling water to the boil. Add the gnocchi and return to the boil. The gnocchi will be cooked when it floats to the top of the water.
9. Remove the gnocchi from the water using a slotted spoon and place it on your clean tea towel-lined tray.
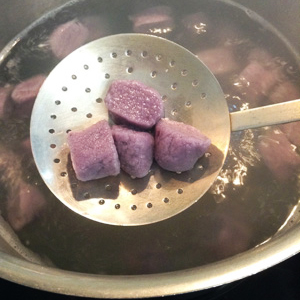
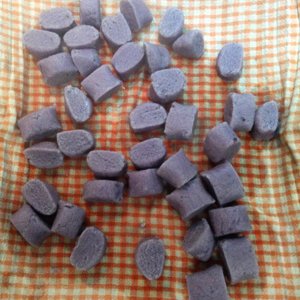
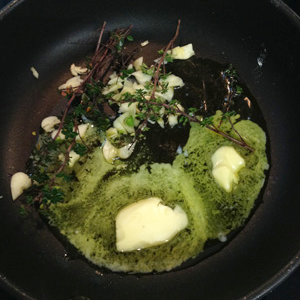
At this point, you can add your cooked gnocchi to your chosen sauce. I like my gnocchi finished in butter, with garlic and thyme.
… I mean make musk sticks.
I don’t call musk sticks, musk sticks as they come in all the flavours including, but not limited to, musk. To me, they are Jacican sticks.
Lately, I’ve made musk, peppermint, bubble gum and lime flavours. Experimenting with Lemon, Lime and bitter, as well as Gin and Tonic flavours.
Like you like your Jacican sticks with no artificial colours or flavours, they now come in natural raspberry!
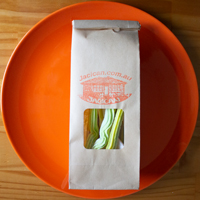
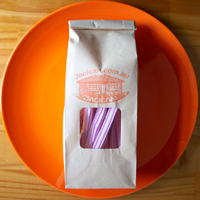
Because lately, we all have time, here’s the recipe for you to make at home if you need something to do. This is a great recipe to do with the kids.
Musk stick recipe
Ingredients
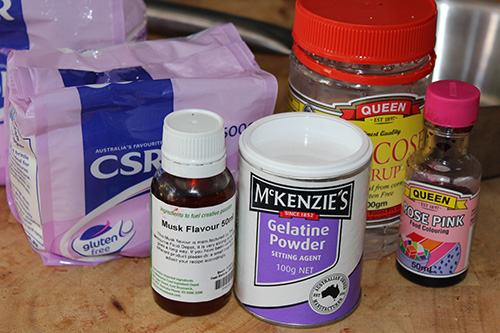
640 grams of icing sugar
1 teaspoon of glucose
1 teaspoon of gelatine
75 ml of water
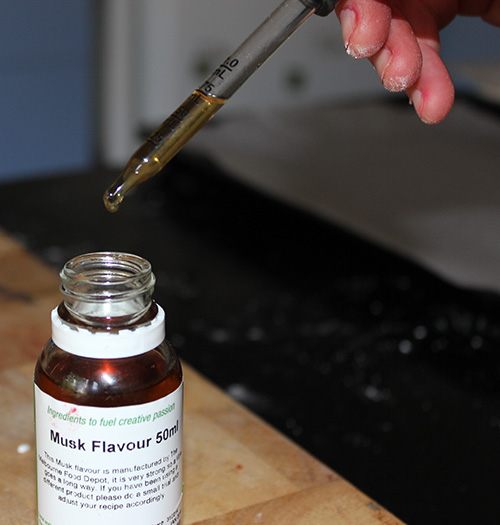
1 ml of musk flavouring
1 ml of pink food colouring
Remember you can make any colour or flavour of musk sticks you want!
Method
In a small saucepan combine glucose, gelatine and water. Gently heat until glucose and gelatine have dissolved. Mix slowly to combine.
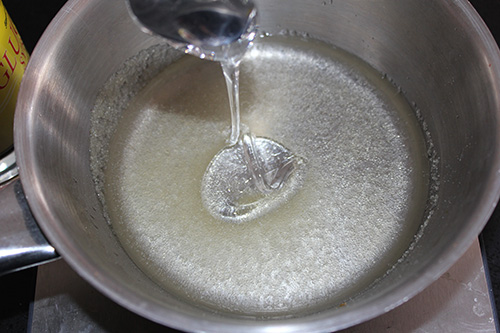
Shift icing sugar into a large bowl. Pour in water mixer in three parts, mixing between each addition.
Add flavour and colouring. Mix well combine.
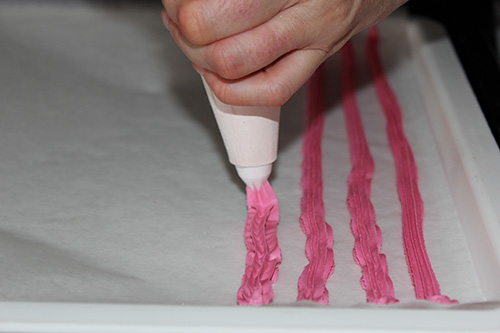
Using a 5 mm star nozzle, fill a piping bag with your mixture. Pipe onto baking-paper lined trays. Leave in a dry place to dry out and harden up. This could take anywhere from a couple of hours to a couple of days. It will depend on the weather – the warmer it is, the quicker they will dry.
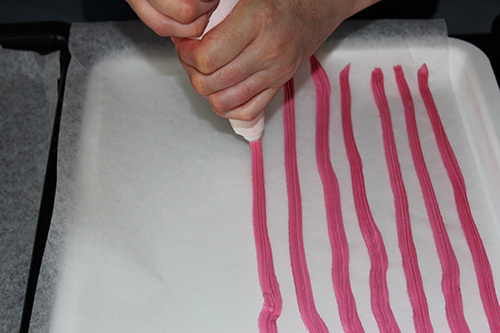

If you can't be bothered to make your own Musk Sticks, there may be Jacican sticks for sale in my shop. You will have to be quick, they normally sell out!
Acknowledgment of country
Hello, I’m Jaci Hicken, from the lands of the Brataualung clan, which is where I’ve spent most of my life.
I would like to acknowledge all of us here today to cook together and share a meal.
I love sharing my dream of growing the food this country has to offer and share it with you.
The traditional place that we come together today is on the lands Gunaikurnai people
And I’d like to pay my respects to our elders past, present, emerging leaders, along with all the young people in our community.
